

Personal Trainer, Andy Donaldson, has created a press up guide for beginners.
Introduction
Press ups are easy-to-perform, suitable for all fitness levels and can be done anytime, anywhere without the need for any special kit or equipment.
Press ups are one of the four essential compound bodyweight exercises, with the other three being: squats, pull-ups and bridges. Mastering these movements utilises the real power of your body, allowing you to be more agile. This type of bodyweight control is vital in sports, martial arts, lifting weights, or just general day-to-day living.
Ensuring the correct form is essential, so check out the guide below to perfect your press ups!
Why do press ups?
Press ups work the entire front of your upper body, with a focus on the pectorals (chest), triceps (back of the arms), your deltoids (shoulders), and your core (the muscles around the stomach area). They’ll give you a great workout, help burn calories and get your heart pumping!
How to complete a standard floor press up
As this is a beginner’s guide, we are starting with some modified press up movements to help you progress to performing a standard floor press-up.
Incline wall press ups
Doing a standing press up against the wall is a good starting place if you’re new to press-ups or if you’re recovering from an injury or illness. By standing, you put less pressure on your joints.
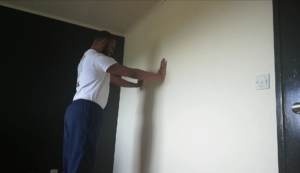

- Stand about an arm’s length away from the wall
- Place your palms on the wall as you lean forwards into a plank position with your arms shoulder height and width apart
- Make sure that your wrists and shoulders are in line with your elbows
- Lightly squeeze your thighs together and then squeeze your stomach and glutes
- Initiate the press up by bending your elbows and slowly moving your upper body towards the wall while keeping your feet flat on the ground. Make sure you inhale as you do this
- Stop just before your forehead touches the wall and pause for a second or two
- Exhale and use your arms to push your body back to your starting position
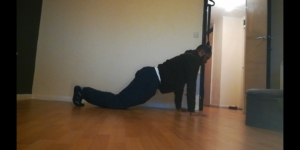
Incline waist height press ups
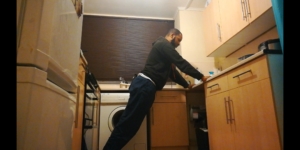
This variation is a little trickier than wall press ups. Find a surface that is about waist height and can take your weight. I’m using the kitchen work surface in this example. Repeat the steps as listed above.
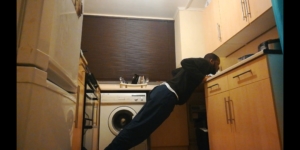
Negative kneeling press ups
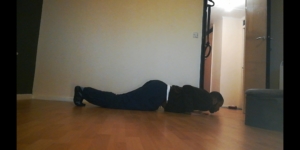
The negative kneeling press up can help you to make that final transition to a floor press up. Balancing on your knees instead of your feet is another good modification while you build your strength.
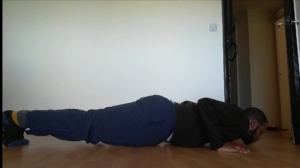
- Start in a plank position with your arms fully extended
- Inhale and lower your body to the floor
- Once your body is fully lowered, instead of pushing back up, place your knees down on the floor
- Keeping your knees on the floor, exhale and use your arms to push your body back to the starting position
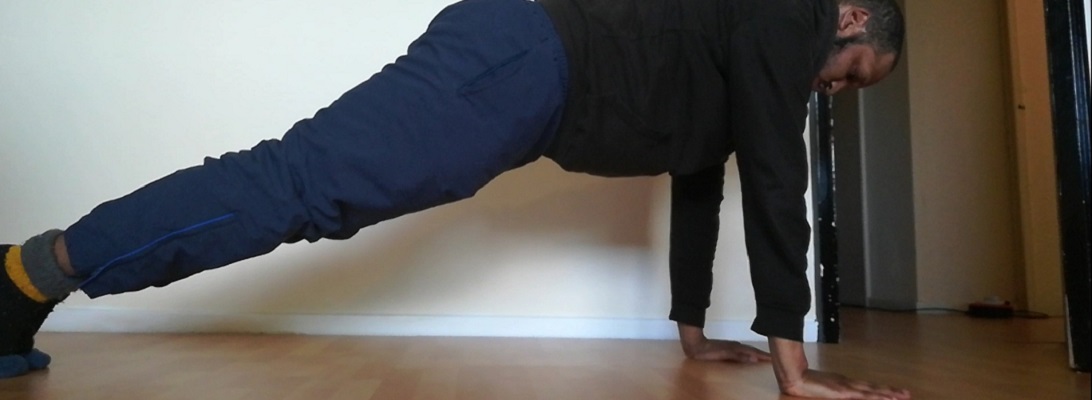
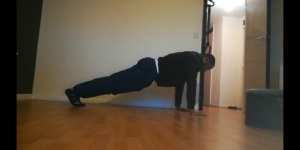
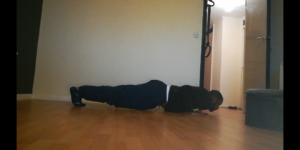
How to do a standard floor press-up
Once you’ve completed a few different press-up progression exercises and you’re feeling ready to perform a standard floor press up, follow the steps below:
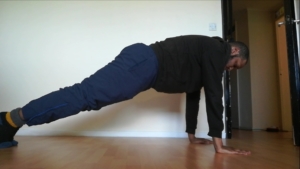
- Start in a plank position with your arms fully extended and palms flat on the floor
- Keep your core locked so a straight line is formed between your head, glutes and heels
- Lower your body until your chest is an inch from the ground and then explosively drive up by fully extending your arms back to the starting position. Repeat for as many reps as you wish
We hope you’re feeling more confident in performing press ups after reading this guide. Keep your eyes peeled for our follow up blog article on floor press up variations.


